Cabin Renovation: Long Sleeve Cabin
It's time for another Cabin Renovation!
Click here to download the renovation plans!
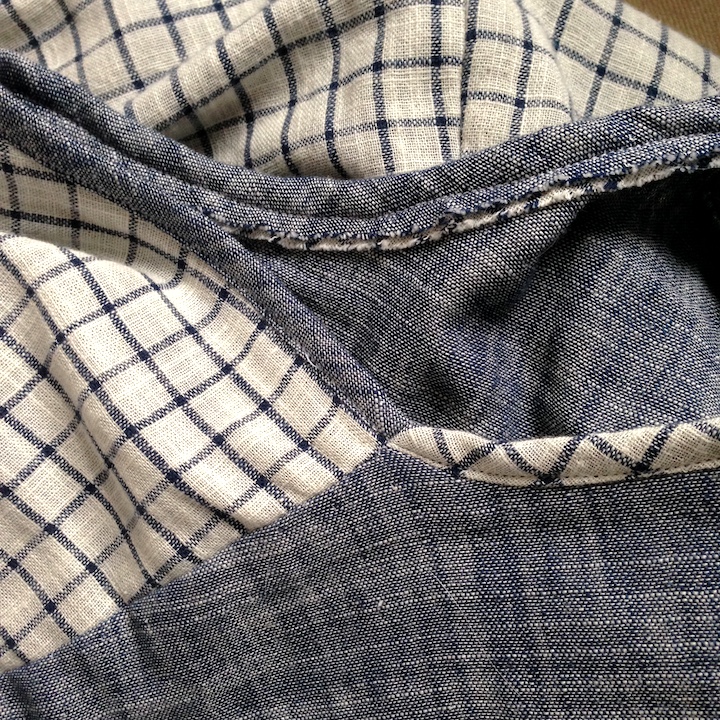
You know something turned out well when you haven't stopped wearing it since it came off the ironing board. This dress has proven itself as that kind of make. I'd been sitting on the idea of a long sleeve, longer cabin for a while. I thought it would be a nice way to play with contrasting fabrics. I used a Robert Kaufman double cloth (I think they no longer make this, but it's very similar to a double gauze in feel and drape.) The coolest part is that I used the same fabric for the whole thing...the solid chambray is simply the back of the check. This allowed for a lot of fun mix and match, but the idea would also work great with two coordinating fabrics.
This was above all an experiment and a sort of wearable muslin. It definitely has its share of issues, most unnoticeable from afar (see the Three Foot Rule here). I was excited about this project and rushed a bit in the cutting stage, so while the face up check was aligned, the grain was just so slightly askew on the half of the piece that was face down. Not a huge deal, but the check is a little slanted where the hem band is attached.
But I love the way it turned out! I like the look of it belted as well as loose. The double cloth is very soft and incredible comfortable. I can already think of a few more of these I'd like to make in some Nani Iro double gauze I've been hoarding. I may omit the back pleat for the next one to get a more fitted silhouette.
I used the opposite side of the fabric for the neckline bias binding. To achieve this affect, I sewed binding onto the front and back separately, then sewed both shoulder seams as shown in the instructions. The binding was then folded inward. I opted for a hong-kong finish - where the non-showing bias is left flat instead of folded under - to reduce bulk and avoid battling against the super ravely double cloth.
This dress has such a 1920's feel to it, with a hint of Scandinavian milkmaid. The renovation itself was fairly simple.
- Cut all Cabin pieces for shift length. The yoke piece was lengthened by 1/2", both to add more room in the shoulders (an alteration I often need) and to allow for a wider sleeve. Cut the hems on both front and back pieces straight across, rather than along the original curve of the hem.
- Once you've sewn as far as the step where you attach binding to the sleeves, trim 1/2" off the sleeve to get a little more room at the bicep. Measure the sleeve hem and cut two sleeves equal to that measurement x 14". Attach these sleeves to the original sleeve hem.
- Cut two hem bands that are 10.5" by the measurement of your pattern piece hems. Attach these two bands at the hem of front and back.
- Check to see that the hem bands align when the side seams are pinned or basted together and adjust if necessary.
- To finish, hem sleeves with a 1/2" double fold. Hem dress with a 1" double fold.
Interested in a more in depth/photo tutorial on this Cabin Renovation? Ask and you shall receive! If you've done your own renovation, tag it and share! #blueprintsmakes **UPDATE: Working on a little tutorial as we speak**


